Note
Go to the end to download the full example code.
1. Making your first figure
This tutorial covers the basics of creating a figure using PyGMT - a Python interface
for the Generic Mapping Tools (GMT). It will only use the pygmt.Figure.coast
method for plotting. Later tutorials will address other PyGMT methods.
Loading the library
The first step is to import pygmt. All methods and figure generation are
accessible from the pygmt top level package.
import pygmt
from pygmt.params import Frame
Creating a figure
All figure generation in PyGMT is handled by the pygmt.Figure class. Start a
new figure by creating an instance of this class:
fig = pygmt.Figure()
To add elements to the figure instance or object (fig in this example) different
methods can be called on it. This example will use the pygmt.Figure.coast
method, which can be used to create a map without any other methods or external data.
The pygmt.Figure.coast method plots the coastlines, borders, and bodies of
water using a database that is included in GMT.
First, a region for the figure must be selected. This example will plot some of the
coast of Maine in the northeastern US. A Python list can be passed to the region
parameter with the minimum and maximum X-values (longitude) and the minimum and
maximum Y-values (latitude). For this example, the minimum (left bottom) coordinates
are (69° W, 43.75° N) and the maximum (right top) coordinates are (68° W, 44.75° N). Negative
values can be passed for longitudes in the western hemisphere or latitudes in the
southern hemisphere.
In addition to the region, an argument needs to be passed to
pygmt.Figure.coast to tell it what to plot. In this example,
pygmt.Figure.coast will be told to plot the shorelines by passing the boolean
value True to the shorelines parameter. The shorelines parameter has other
options for finer control, but setting it to True uses the default values.
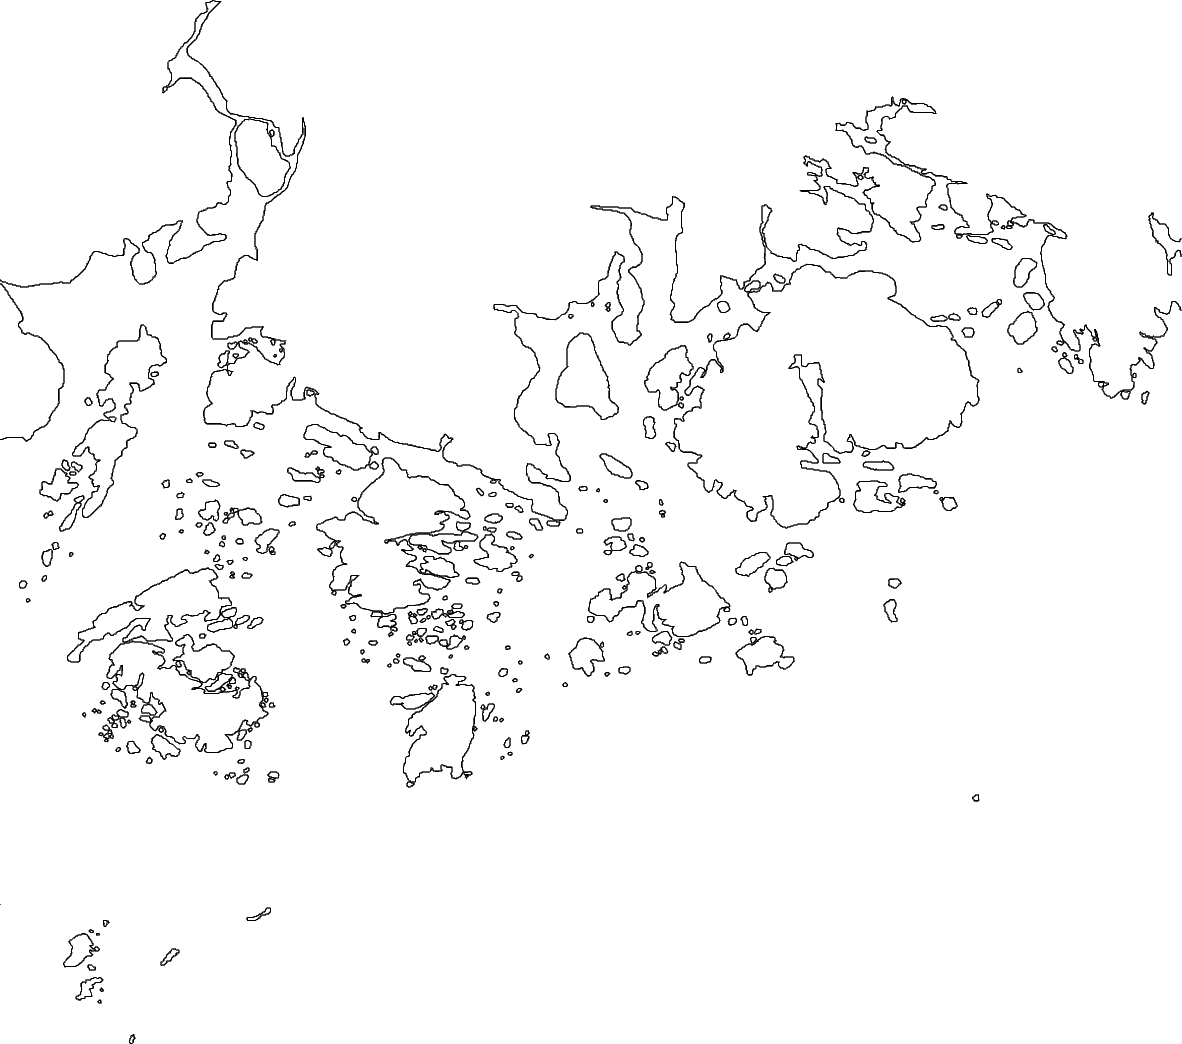
fig.coast(region=[-69, -68, 43.75, 44.75], shorelines=True)
To see the figure, call pygmt.Figure.show.
fig.show()
Color the land and water
This figure plots all of the coastlines in the given region, but it does not indicate
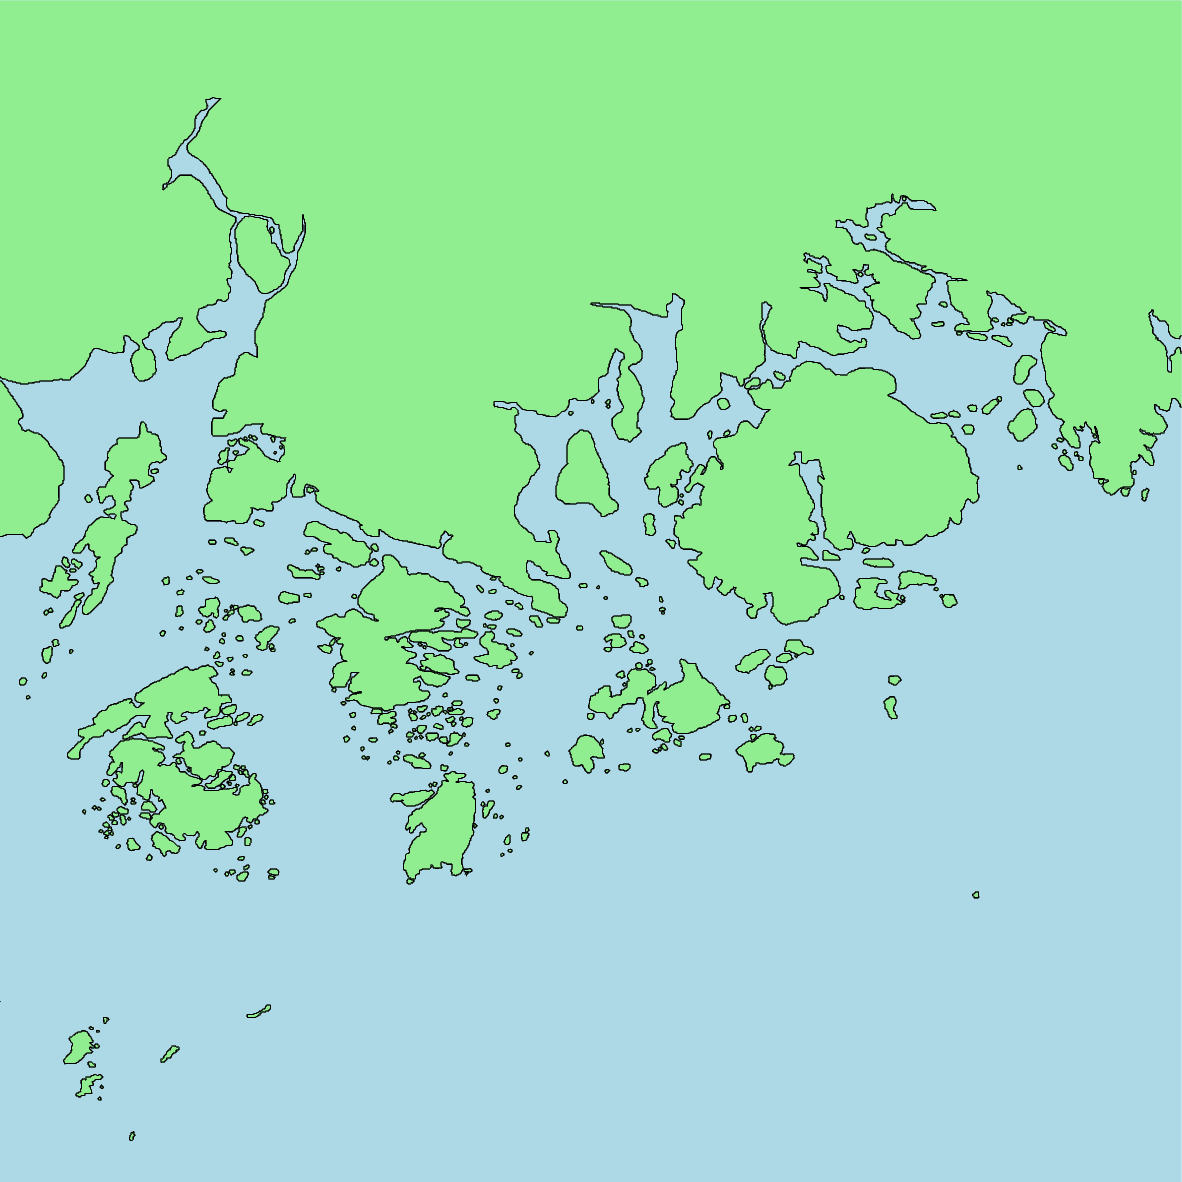
where the land and water are. Color values can be passed to land and water to
set the colors on the map.
When plotting colors in PyGMT, there are multiple
color codes, that can be used. This includes standard GMT
color names (like "skyblue"), R/G/B levels (like "0/0/255"), a hex value (like
"#333333"), or a gray level (like "gray50"). For this example, GMT color names
are used.
fig = pygmt.Figure()
fig.coast(
    region=[-69, -68, 43.75, 44.75],
    shorelines=True,
    land="lightgreen",
    water="lightblue",
)
fig.show()
Set the projection
This figure now has its colors set. By default the projection and size of the map is
set to "Q15c+du". Here, "Q" defines a cylindrical equidistant map projection,
"15c+du" means setting the maximum (upper) map dimension to 15 cm. However, both
of these values can be customized according to the requirements using the
projection parameter.
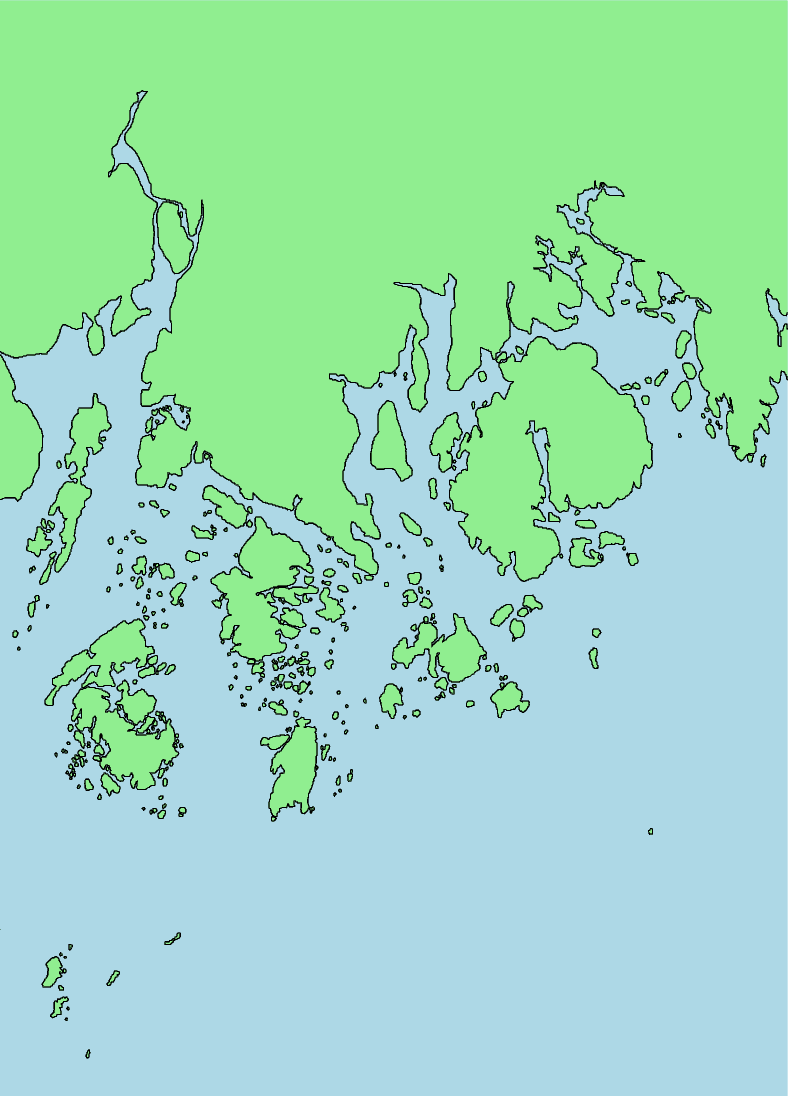
The appropriate projection varies for the type of map. The available projections are
explained in the projection gallery. For this example, the
Mercator projection is set using "M". The width of the map will be 10 centimeters,
as set by "10c". The map size can also be set in inches using "i" (e.g. a
5-inch wide Mercator projection would use "M5i").
fig = pygmt.Figure()
fig.coast(
    region=[-69, -68, 43.75, 44.75],
    shorelines=True,
    land="lightgreen",
    water="lightblue",
    projection="M10c",
)
fig.show()
Add a frame
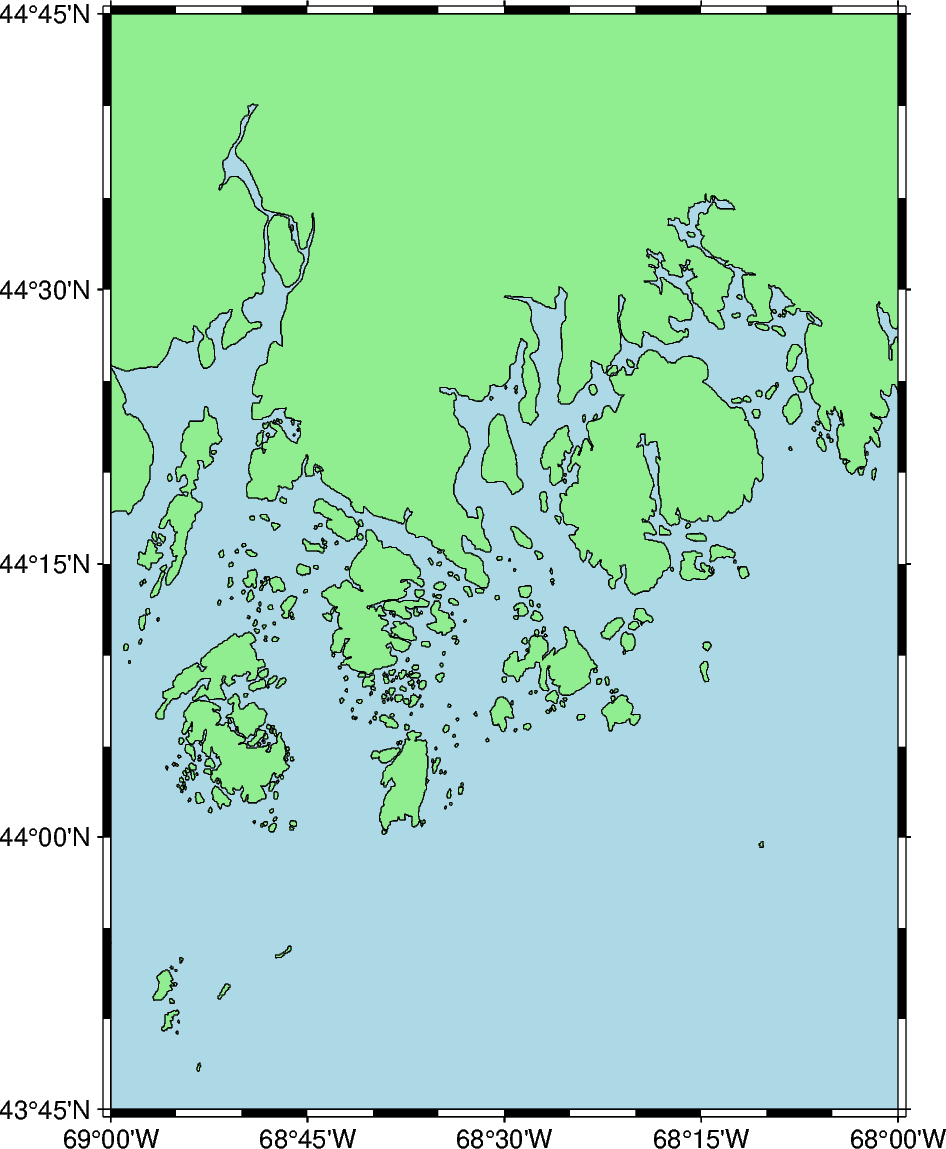
While the map’s colors, projection, and size have been set, the region that is being displayed is not apparent. A frame can be added to annotate the latitude and longitude of the region.
The frame parameter is used to add a frame to the map. For now, it will be set to
True to annotate the axes automatically.
fig = pygmt.Figure()
fig.coast(
    region=[-69, -68, 43.75, 44.75],
    shorelines=True,
    land="lightgreen",
    water="lightblue",
    projection="M10c",
    frame=True,
)
fig.show()
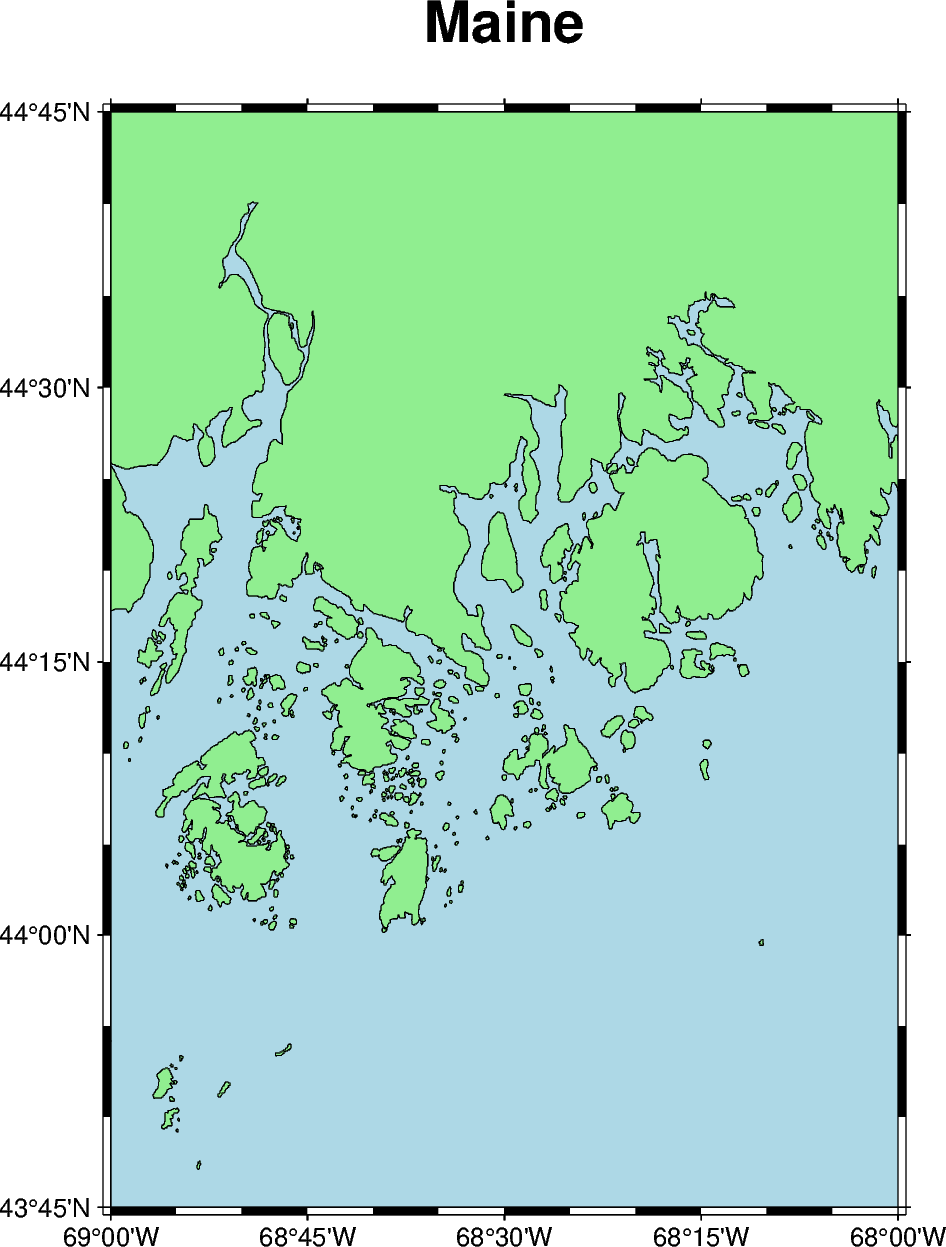
Add a title
The frame parameter can also be used to add a title to the map. Here,
pygmt.params.Frame sets the map title.
fig = pygmt.Figure()
fig.coast(
    region=[-69, -68, 43.75, 44.75],
    shorelines=True,
    land="lightgreen",
    water="lightblue",
    projection="M10c",
    frame=Frame(axis=True, title="Maine"),
)
fig.show()
Additional exercises
This is the end of the first tutorial. Here are some additional exercises for the concepts that were discussed:
Make a map of Germany using its ISO country code (“DE”). Pass the ISO code as a Python string to the
regionparameter.Change the color of the landmass to “khaki” and the water to “azure”.
Change the color of the lakes (using the
lakesparameter) to “red”.Create a global map. Set the region to “d” to center the map at the Prime Meridian or
"g"to center the map at the International Date Line. When the region is set without using a list full of integers or floating numbers, the argument needs to be passed as a Python string. Create a map with a width of 15 centimeters using the Mollweide (“W”) projection.
Total running time of the script: (0 minutes 0.718 seconds)